10 Sides Of Nether
Isn’t it the time to do some parkour? Playing a parkour map in Minecraft is fun. Unless it’s super hard. So, we are presenting you 10 Sides Of Nether. It’s a Minecraft map that looks fun, fair, and great. You can enjoy this map on 10 different levels.
Spawn Area
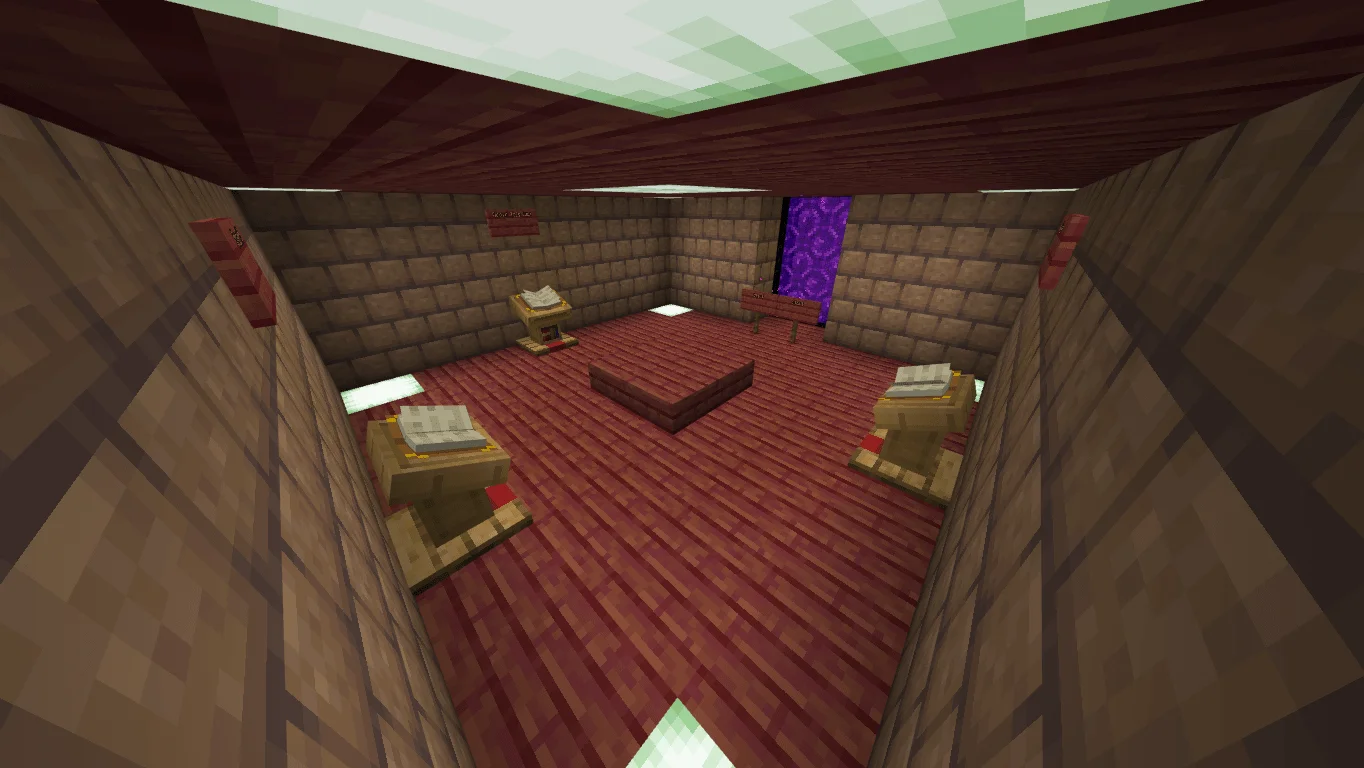
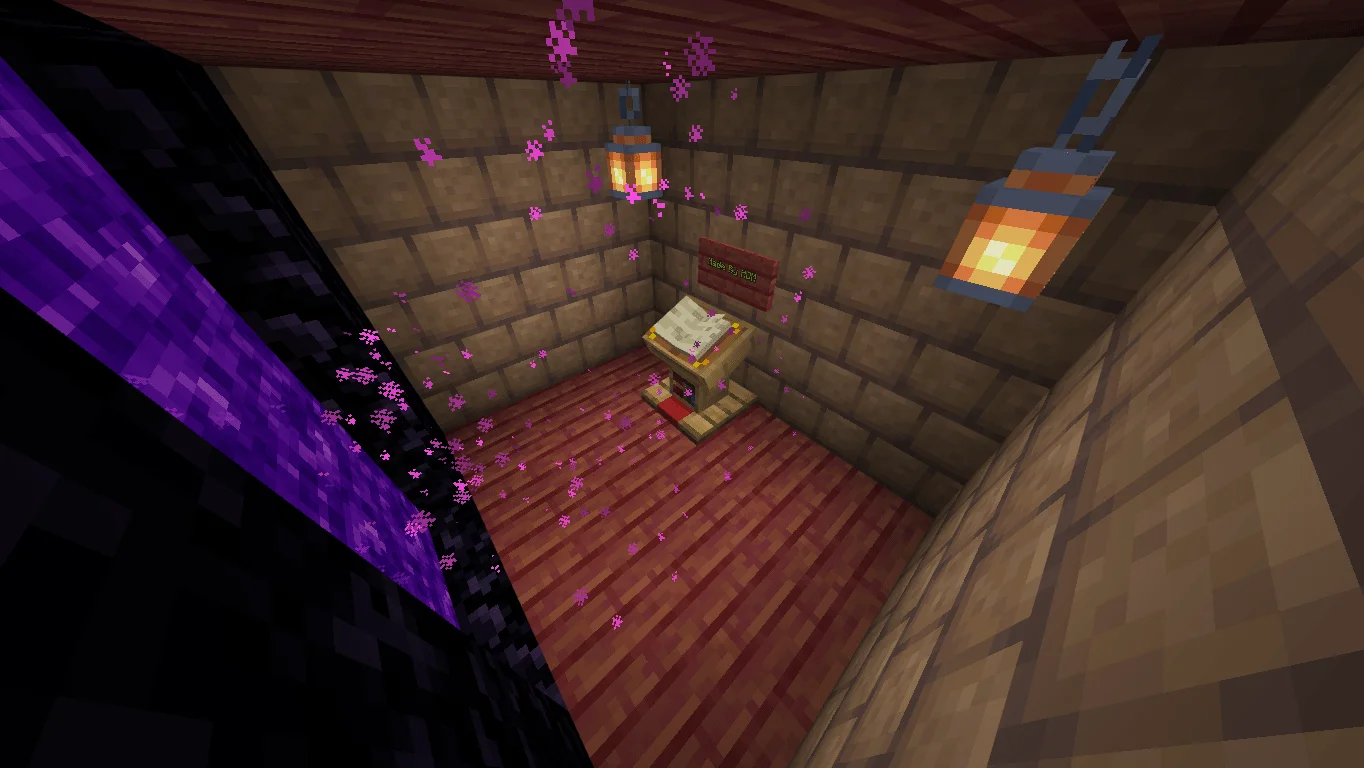
10 Sides Of Nether have a Spawn Area. In the spawn area, you will have access to 3 books to learn more about this map and a nether portal to start the game.
Nether Lobby
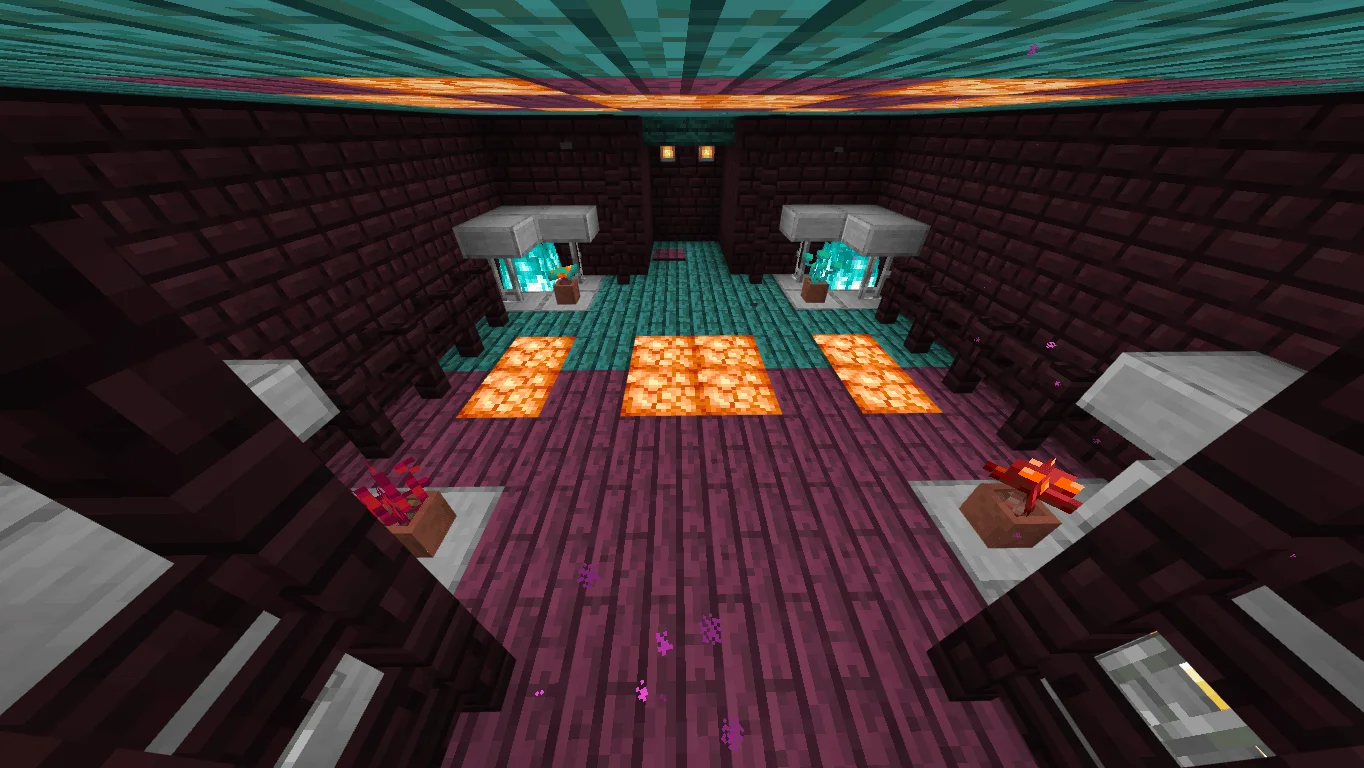
10 Sides Of Nether have a Nether Lobby after entering the nether. The lobby looks great. You can start level 1 by standing on the pressure plate.
Ending Room
10 Sides of Nether have an Ending Room. You can come here after completing all levels. You will be congratulated in this room.
Parkour Menu
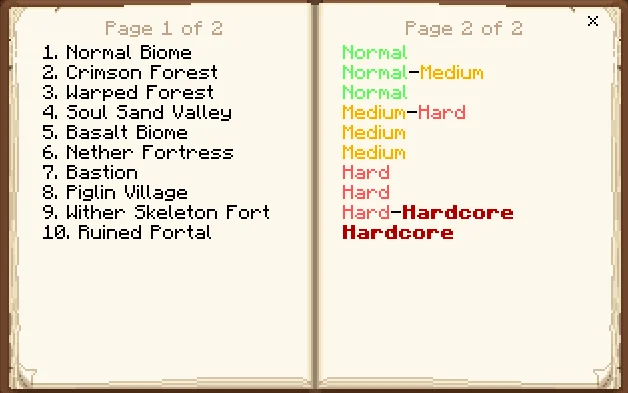
10 Sides Of Nether have 10 different levels to parkour. You will find a book in your inventory after entering the world. You can see each level’s name and difficulty in the book.
Levels
10 Sides Of Nether has 10 levels. Every level has its own vibe.
1. Normal Biome | Normal Difficulty 2. Crimson Forest | Normal – Medium Difficulty 3. Warped Forest | Normal Difficulty 4. Soul Sand Valley | Medium – Hard Difficulty 5. Basalt Biome | Medium Difficulty 6. Nether Fortress | Medium Difficulty 7. Bastion | Hard Difficulty 8. Piglin Village | Hard Difficulty 9. Wither Skeleton Fort | Hard – Hardcore Difficulty 10. Ruined Portal | Hardcore Difficulty
Installation
To install 10 Sides Of Nether, you need to follow the steps written below: Step 1- Identify the platform where you will play this map.
[Note: This map can only run on the Bedrock edition of Minecraft]
Windows:
Step 2- If you play on Windows then download the .mcword file then double-click on it if it shows the Minecraft icon in the file manager. If not, then right-click on the file and hover on “Open with” then click on Minecraft. Again, if this method does not work then find a video tutorial about this topic. Step 3: After double click on the file, Minecraft should be launched automatically and import the map in Minecraft.
Android:
Step 2- If you play on Android then download the .mcworld and download an external application from Play Store. The application name is “FX File Manager” Step 3- After downloading the application, open it, then go to the folder where you downloaded the .mcworld. After that, click on the file and select Minecraft. Now, Minecraft should be launched automatically and import the map in Minecraft.


mac installation way ?